PART 2 :: ADDING A MICROCONTROLLER :: HARDWARE
Difficulty Level: Intermediate
Now that we know our modules are working and transmitting data wirelessly, we can move on to the next step. If you missed PART 1, you can find it here, or you can jump straight into PART 2, the choice is yours.
Introduction:
Like me, as soon as you got your hands on your shiny new set of wireless modules you may have tried to hook them up to the serial pins of your nearest microcontroller to start sending data. Only to realize that the result was nowhere near what you had expected. Tons of serial data being picked up by your receiver even when the transmitter is off! This happens because these particular receivers automatically increase their gain (sensitivity) when no consistent RF signal is being sent to them. It doesn’t take them long to reach maximum gain and by that time they’re picking up all sorts of noise from the surrounding area (All the random serial data displayed on your serial monitor). So what now?
Arduino libraries I tell you! Thanks to some brilliant people out there, our lives have been made a whole lot easier. Through a bit of Googling, I found 3 main libraries that people are using to interface with all kinds of RF modules. RC-Switch, Manchester and VirtualWire. I’m going to show you how to use all 3. From there, you can choose the one that best suits your needs and memory requirements.
*** It’s probably a good idea to set the Transmitter and Receiver circuits up in 2 separate breadboards if you plan to do some range testing later on.
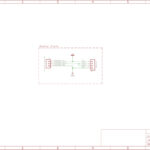
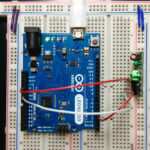
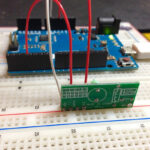
HOOKUP GUIDE :: RECEIVER
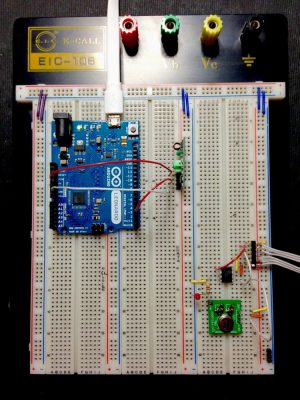
For the receiver I’m going to be using an Arduino Leonardo, but any Arduino board with serial communication and at least one interrupt should be fine.
What you’ll need is:
- 1x 433MHz RF-Link Receiver Module
- 1x Arduino Board
- 1x Breadboard
- Breadboard Jumper Wires
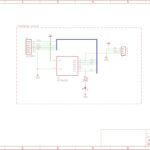
HOOKUP GUIDE :: TRANSMITTER
For the transmitter I’m going to be using an Atmel ATtiny85 microcontroller which I will program using the Arduino IDE and an AVR programmer. Again, any Arduino board should work just as well with this setup.
What you’ll need is:
- 1x 433MHz RF-Link Transmitter Module
- 1x Arduino Board / ATtiny85
- 1x AVR Programmer (If you are using an ATtiny85)
- 1x Breadboard
- Breadboard Jumper Wires
- 1x LED
- 1x 470-Ohm 1/4W Resistor
The setup for an ATtiny85 is slightly more complex than that for an Arduino Board, so if you aren’t using an ATtiny85 with your Transmitter then you can go ahead and skip this next part.
- Step 1 – Wire up your programmer connections :
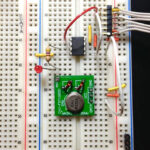
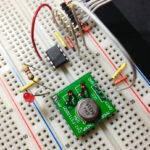
The first thing you will need to do is get your ATtiny85 set up in your breadboard and connected to your AVR programmer. For this tutorial I used the Sparkfun AVR Pocket Programmer to program my ATtiny85. Any AVR programmer will do here, as long as it is capable of programming an ATtiny85. I won’t be going into the intricacies of how to successfully connect and program an AVR chip, but the following Sparkfun tutorial helped me quite a bit when I was getting started – Sparkfun – Pocket AVR Programmer Hookup GuideIf everything is connected and ready for programming, you should end up with a screen similar to this in your Command Prompt window:
- Step 2 – Download and install Arduino ATtiny core files :
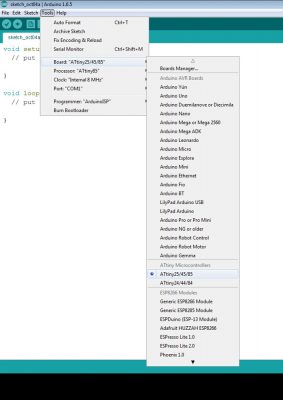
I suggest having the latest version of the Arduino IDE installed on your computer for this next step. At the time of this tutorial I was using version 1.6.5 of the Arduino IDE. If you have this or a later version installed, adding Attiny support to your Arduino IDE is quite a simple task. I used this tutorial to help me do just that – High Low Tech – Programming an ATtiny with ArduinoOnce your core files have been installed, you’re pretty much ready to program your ATtiny85 using the Arduino IDE. Here’s a screenshot of what you should now see in your Arduino IDE’s ‘Board:’ menu and the settings I’ve used for programming my ATtiny85:
- Step 3 – Wire up your LED and transmitter and test everything is working :
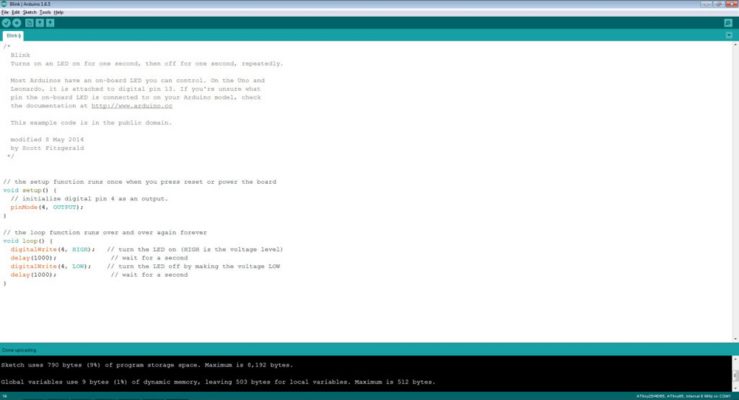
Now comes the biggest milestone in our ATtiny setup, will an Arduino sketch upload successfully and run on our ATtiny85. If you’ve made it this far then there’s no reason it shouldn’t. Open up the good old ‘Blink’ example sketch and change all the references of ‘pin 13’ to ‘pin 4’ like this:
We can now move on to the coding stage with both the Transmitter and Receiver circuits set up and ready to be programmed. Since PART 2 of this tutorial is already quite lengthy, I’ve decided to move the coding to PART 3 which you can find directly below this tutorial. If you’re wondering how far apart your Transmitter and Receiver circuits should be in order to still be range of each other without any external antennas, have a look at the image below. At this distance the Receiver circuit is able to perfectly pick up the signal from my Transmitter.

