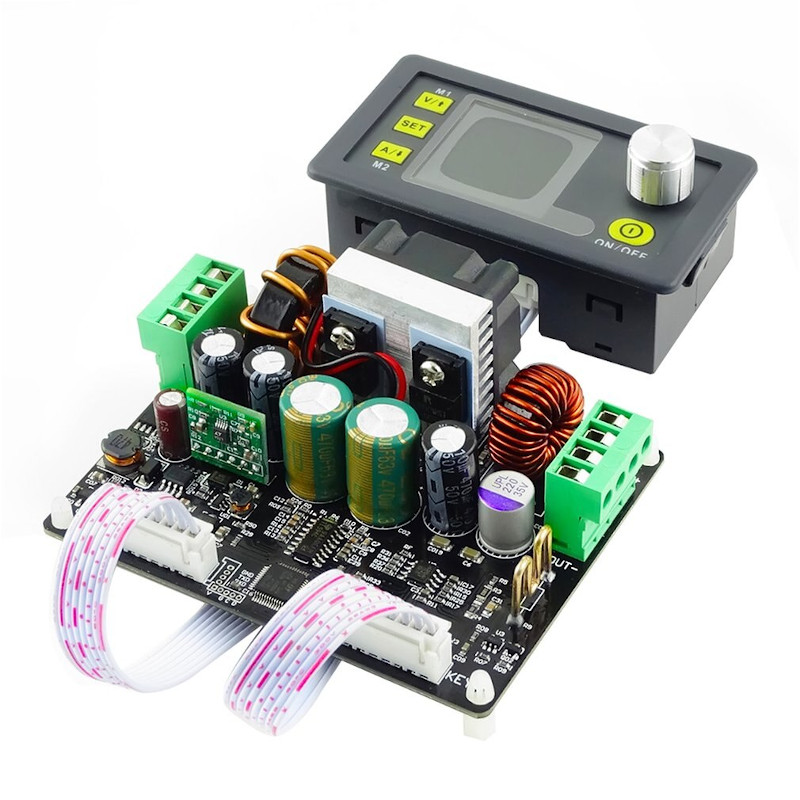
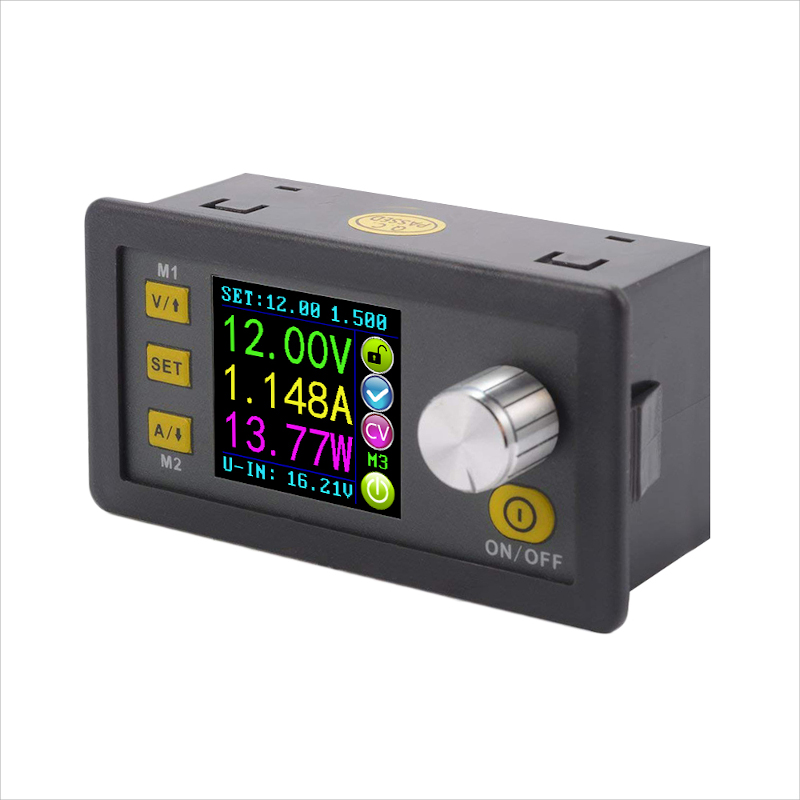
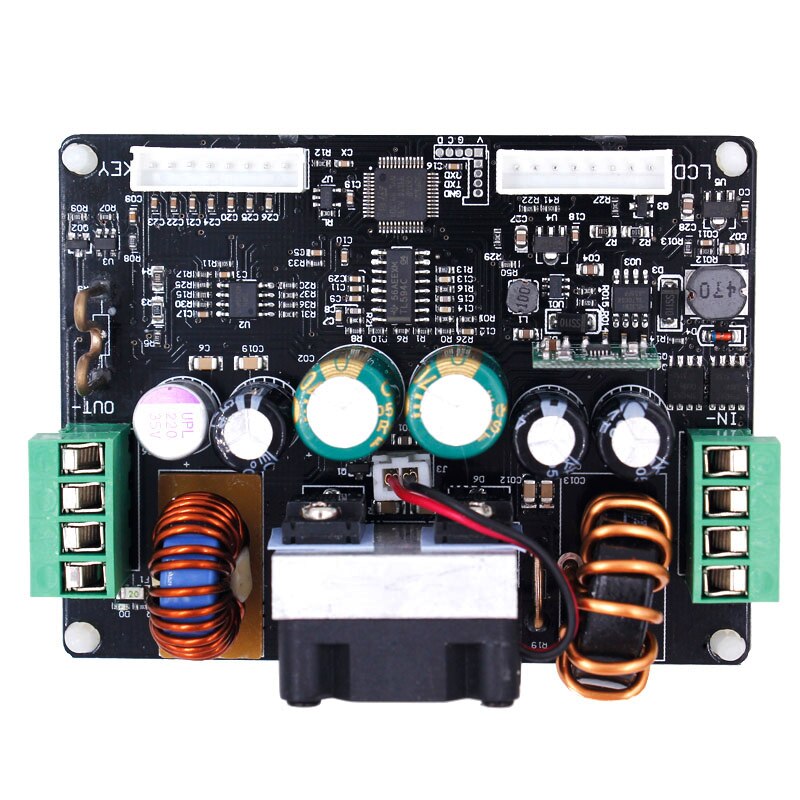
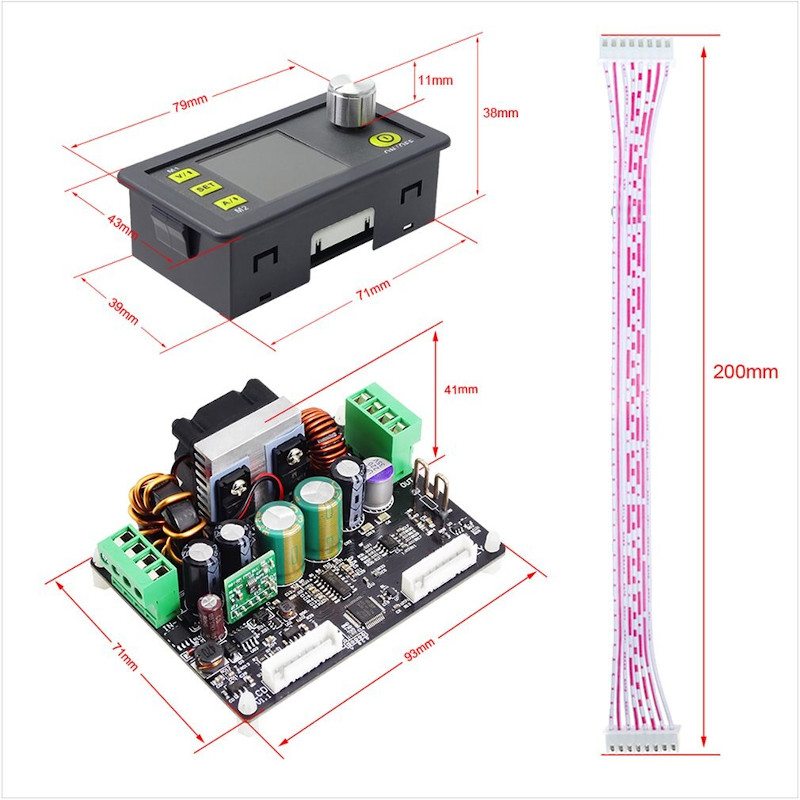
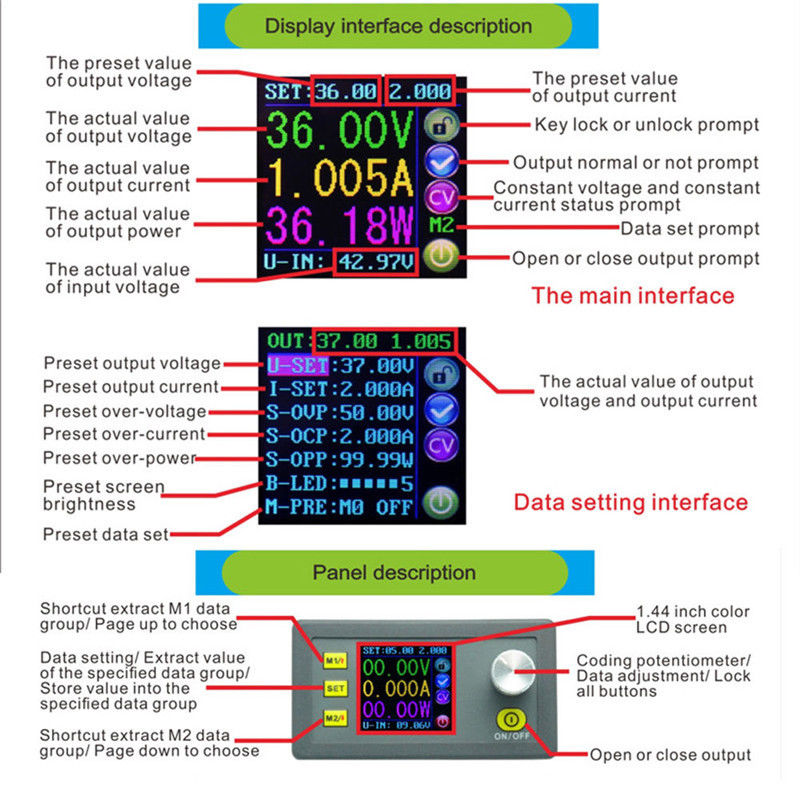
This desktop constant voltage, constant current programmable DC-DC converter packs a lot of punch despite its size. It has an adjustable output voltage range from 0 to 32VDC (100mV programmable steps) and an output current range from 0 to 5A (10mA programmable steps). These 2 readings are continuously updated on the full color 1.44 inch LCD display. Here you can also view the preset voltage, input voltage, output voltage, preset current, output current and output power. Additionally on the output state reminder area you can see whether the output is ON or OFF, the state of constant voltage and constant current, if the output is normal or not, if the key is locked or not, and the current data groups that are being used.
On top of all this, the module has a power-down storage function that can store up to 10 different groups of preset values, and on the setting data interface you are able to adjust the over-voltage value, the over-current value, the over-power value, data set and LCD brightness. All in all a great little module which can be used in a wide range of applications.
Features / Specs
- Model: Rui Deng DPH3205
- Input Voltage Range: 6 – 40VDC
- Output Voltage Range: 0 – 32VDC
- Max Output Current: 5A
- Max Output Power: 160W
- Output Voltage Resolution: 100mV
- Output Current Resolution: 10mA
- Output Voltage Accuracy: ± (0.5% + 1 digit)
- Output Current Accuracy: ± (0.5% + 2 digits)
Operating Instructions
Setting the output voltage and current:
Pressing the V/↑ button will allow you to change the set voltage at the top of the display. You can then use the potentiometer knob to change the highlighted digit to the desired number. To change the specific digit being highlighted, press the potentiometer knob. Pressing the V/↑ button again will save the set voltage value and return focus to the main screen. The same applies for setting the current value, but use the A/↓ button instead.
Enabling the output:
Use the ON/OFF button to respectively enable or disable the module output. When enabled, the little power symbol on the screen will be green, when disabled it will be red.
Locking the input interface:
Press and hold the potentiometer knob for more than 2 seconds to lock the input interface. The on screen lock symbol will change to locked when the input interface is locked. This ensures that no accidental changes can be made while your focus is elsewhere. To unlock the input interface follow the same process, press and hold the potentiometer knob for more than 2 seconds.
Settings Menu:
Pressing the SET button will take you to the settings screen, where you can use the V/↑ and A/↓ buttons to move up and down in the menu. Pressing the potentiometer knob will allow you to change the highlighted menu item. Pressing the SET button will save the changes made to the menu item. Pressing the SET button again will exit the settings screen and take you back to the main screen.
- U-SET: Another way of setting the preset voltage value
- I-SET: Another way of setting the preset current value
- S-OVP: Set the over-voltage protection value
- S-OCP: Set the over-current protection value
- S-OPP: Set the over-power protection value
- B-LED: Change the screen brightness
- M-PRE: Update saved settings groups (10 in total)
- S-INI: Set the initial state of the output when the module is first powered up
Saving settings groups:
This module is capable of storing up to 10 different settings groups. These groups contain all the values that can be updated on the Settings screen. In order to save a specific group, start by selecting the appropriate settings group from the M-PRE menu item (M0 – M9). The ON/OFF option for each group sets the state of the output when changing to that particular group. ON will immediately turn the output ON, and apply the selected voltage. Once you have selected the appropriate group, Use the SET button the exit the M-PRE menu, but do not exit the Settings screen. Update all the necessary settings, and enter into the M-PRE menu item again once you have completed this. Then finally, to save the settings you have just updated, hold the SET button for longer than 2 seconds, you should see a small green settings group ID appear above the power symbol on the right side of the screen once the settings have been saved (Eg. M0). Follow this process every time you would like to save a settings group.
Applying saved settings groups:
From the main screen, hold down the SET button until you see ‘M0’ appear above the power symbol. You can release the SET button once you see this. Use the potentiometer knob to cycle through the settings groups and once you have found the group you would like to use, press the SET key. That’s it, the new settings should now have been applied.
M1 and M2 Shortcuts:
You may have noticed that the V/↑ and A/↓ buttons have some additional text above and below the 2 buttons. These are shortcuts which allow you to quickly apply your M1 and M2 settings groups. Hold either of the 2 buttons down for more than 2 seconds to apply the settings you have saved for these two groups.

